A good quality picture of the wound plays a crucial role in evaluating the healing of wounds for physicians or medical practitioners. Digital photography of a patient's wound by an wound expert and skilled medical photographer is an effective and convenient way to assess healing. These wound photos can develop a comprehensive plan, discuss care procedures with colleagues, educate the patients, or enhance the reliability and accuracy of wound documentation.
An accurate and sufficient wound assessment in the patient files includes essential details such as location, depth, odor, surrounding tissues, etc. There are some additional tips you need to keep in mind while photographing a wound. Some of them are here as follows:
1. Digital Photographic Camera - Using good quality and reliable digital camera is highly recommended in wound photography. Make sure to put the correct date and time on it as this information is essential for the resulting photographs' legal purposes. The quality and direction of the falling light on the subject should be controlled and carefully managed. It is also recommended to include a calibrated color chart in the frame or at the beginning of a series of images to set the white balance. It ensures quality colors captured in photos.
2. Obtaining Consent - Consent for photography is required to be obtained from the patient. You must explain that the photos will be used for documentation or teaching or publication. Along with the written consent obtained with admission, verbal consent should also be taken with each subsequent image. Patients should be aware that the photographs are taken and used within legal healthcare documentation owned by the respective agency.
3. Remove Distractions from Wounds - In many cases, a wound photograph does not show the wound's correct location or position on the body. Therefore, all the background clutters should be removed to allow physicians to focus only on the clinical areas. Using a permanent black or white background is good, while for bed-bound patients not suitable for positioning in front of the background, a disposable sterile sheet is recommended. The photograph should show the location of the wound concerning the body.
4. Measurements - The L-Shaped ruler is ideal to use in wound photography. However, a standard ruler also works well. Place a ruler near the wound to have an accurate indication of the wound size. You can apply measurement devices for both length and width. Using only one ruler can lead to misshaped measurements; it is best to use a non-bendable measurement tool for improved consistency.
5. Patient's Manual Handling - While carrying out wound photography, it is essential to maintain the patient's significant safety measures to minimize the risk of injury from manual handling tasks or working positions.
-
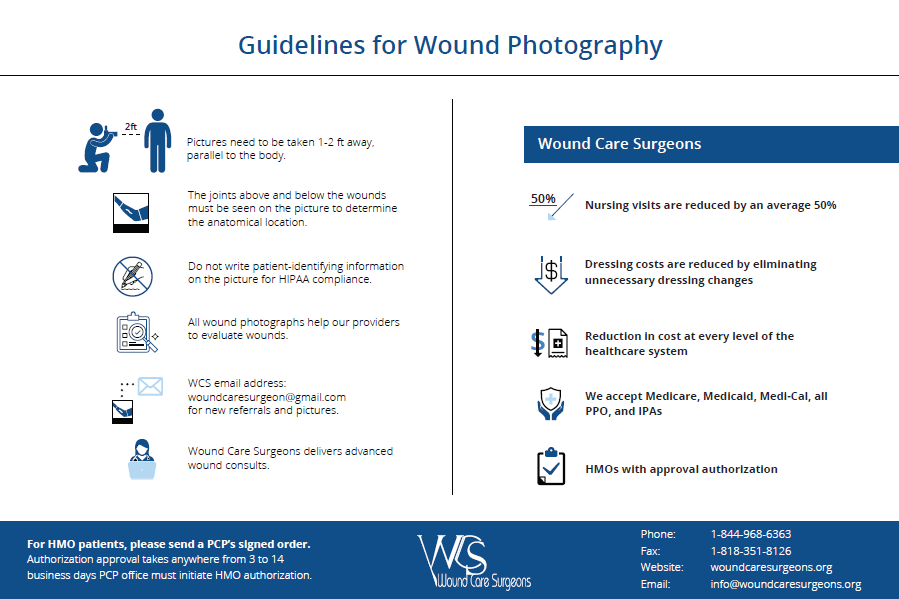
Make sure that pictures are being taken 1-2 ft away parallel to the body.
-
Below & above joints and surrounding areas must be seen in the pictures to determine the anatomical locations.
-
The patient must remove extraneous clothing.
-
The wound and the surrounding area should be cleaned before photography as it can confuse the current condition and extent of the wound.
-
While carrying out manual handling related tasks, the patients with little or no significant mobility issues are recommended to stand/sit/lie in a suitable position.
6. Save And Storage Images - The photographs should be stored in an electronic patient record to further assess the wound's condition and monitor progress during the next visit. So, you need to upload the images to a secure location or database for the consultation purposes and then delete them from the camera.


